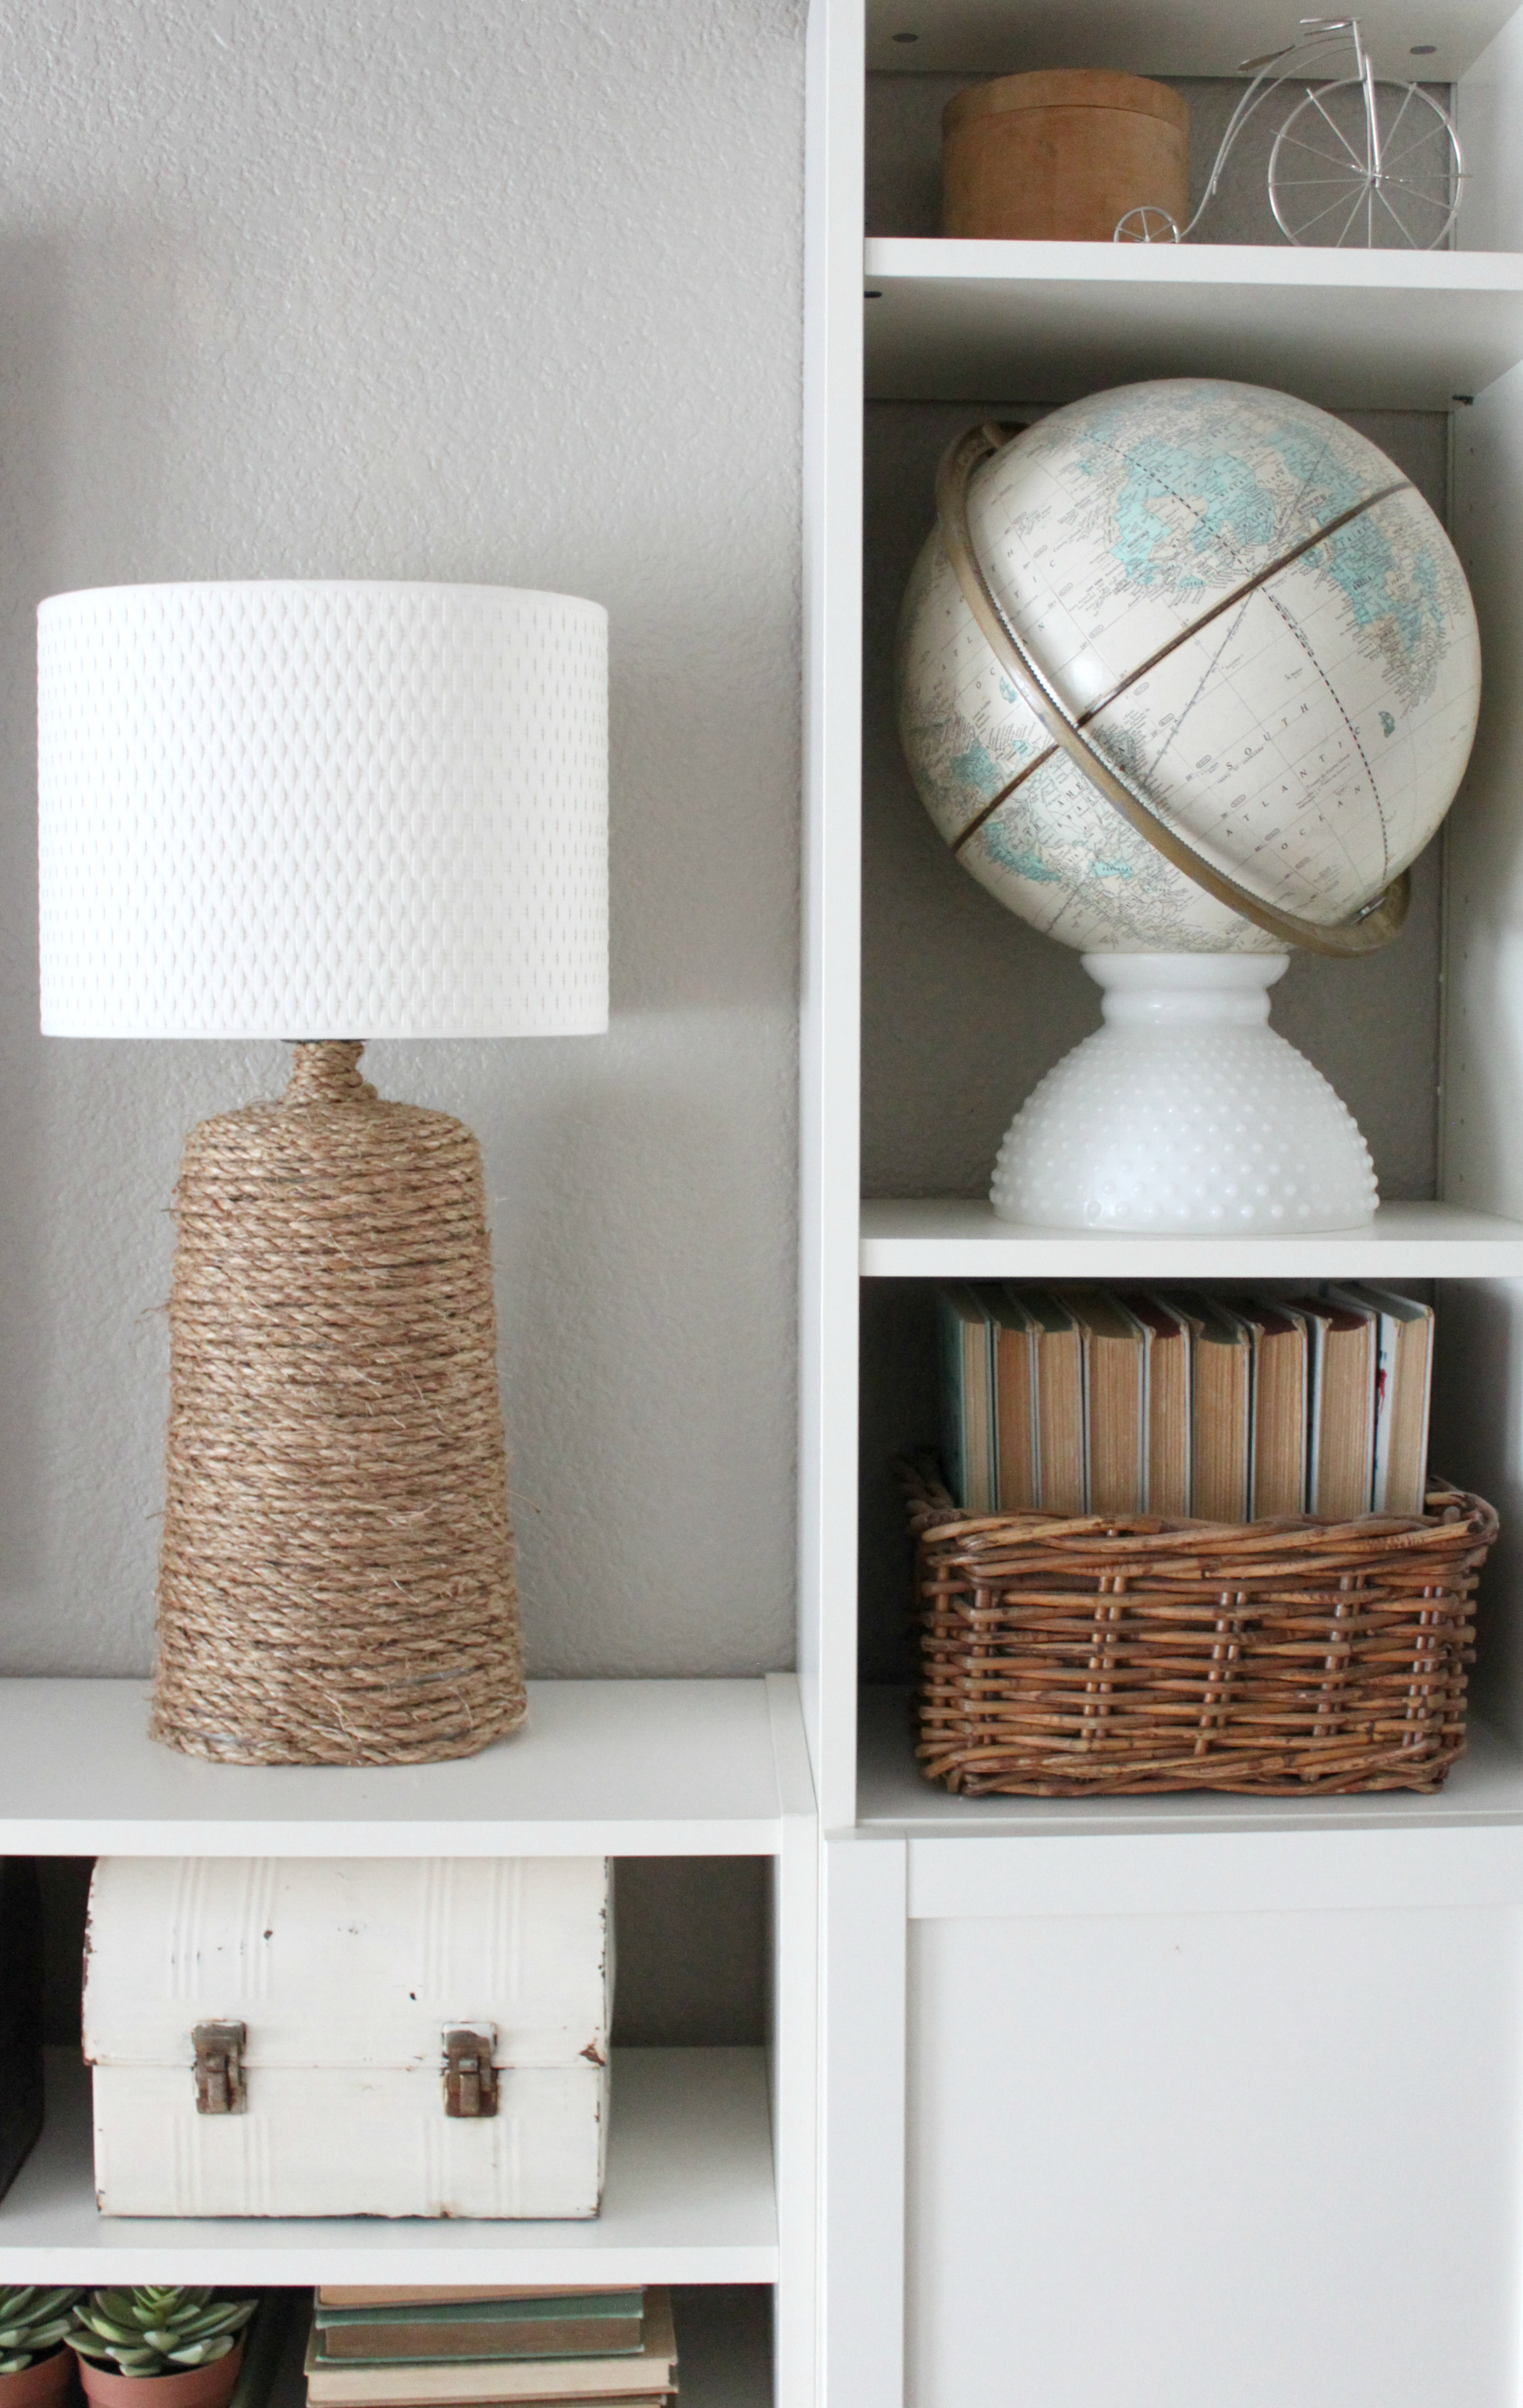
UPDATE: Six years later, I’m still madly in love with these lamps! They’ve remained a timeless fixture in my home over all these years. They are easy to create and easy to style into any decor.
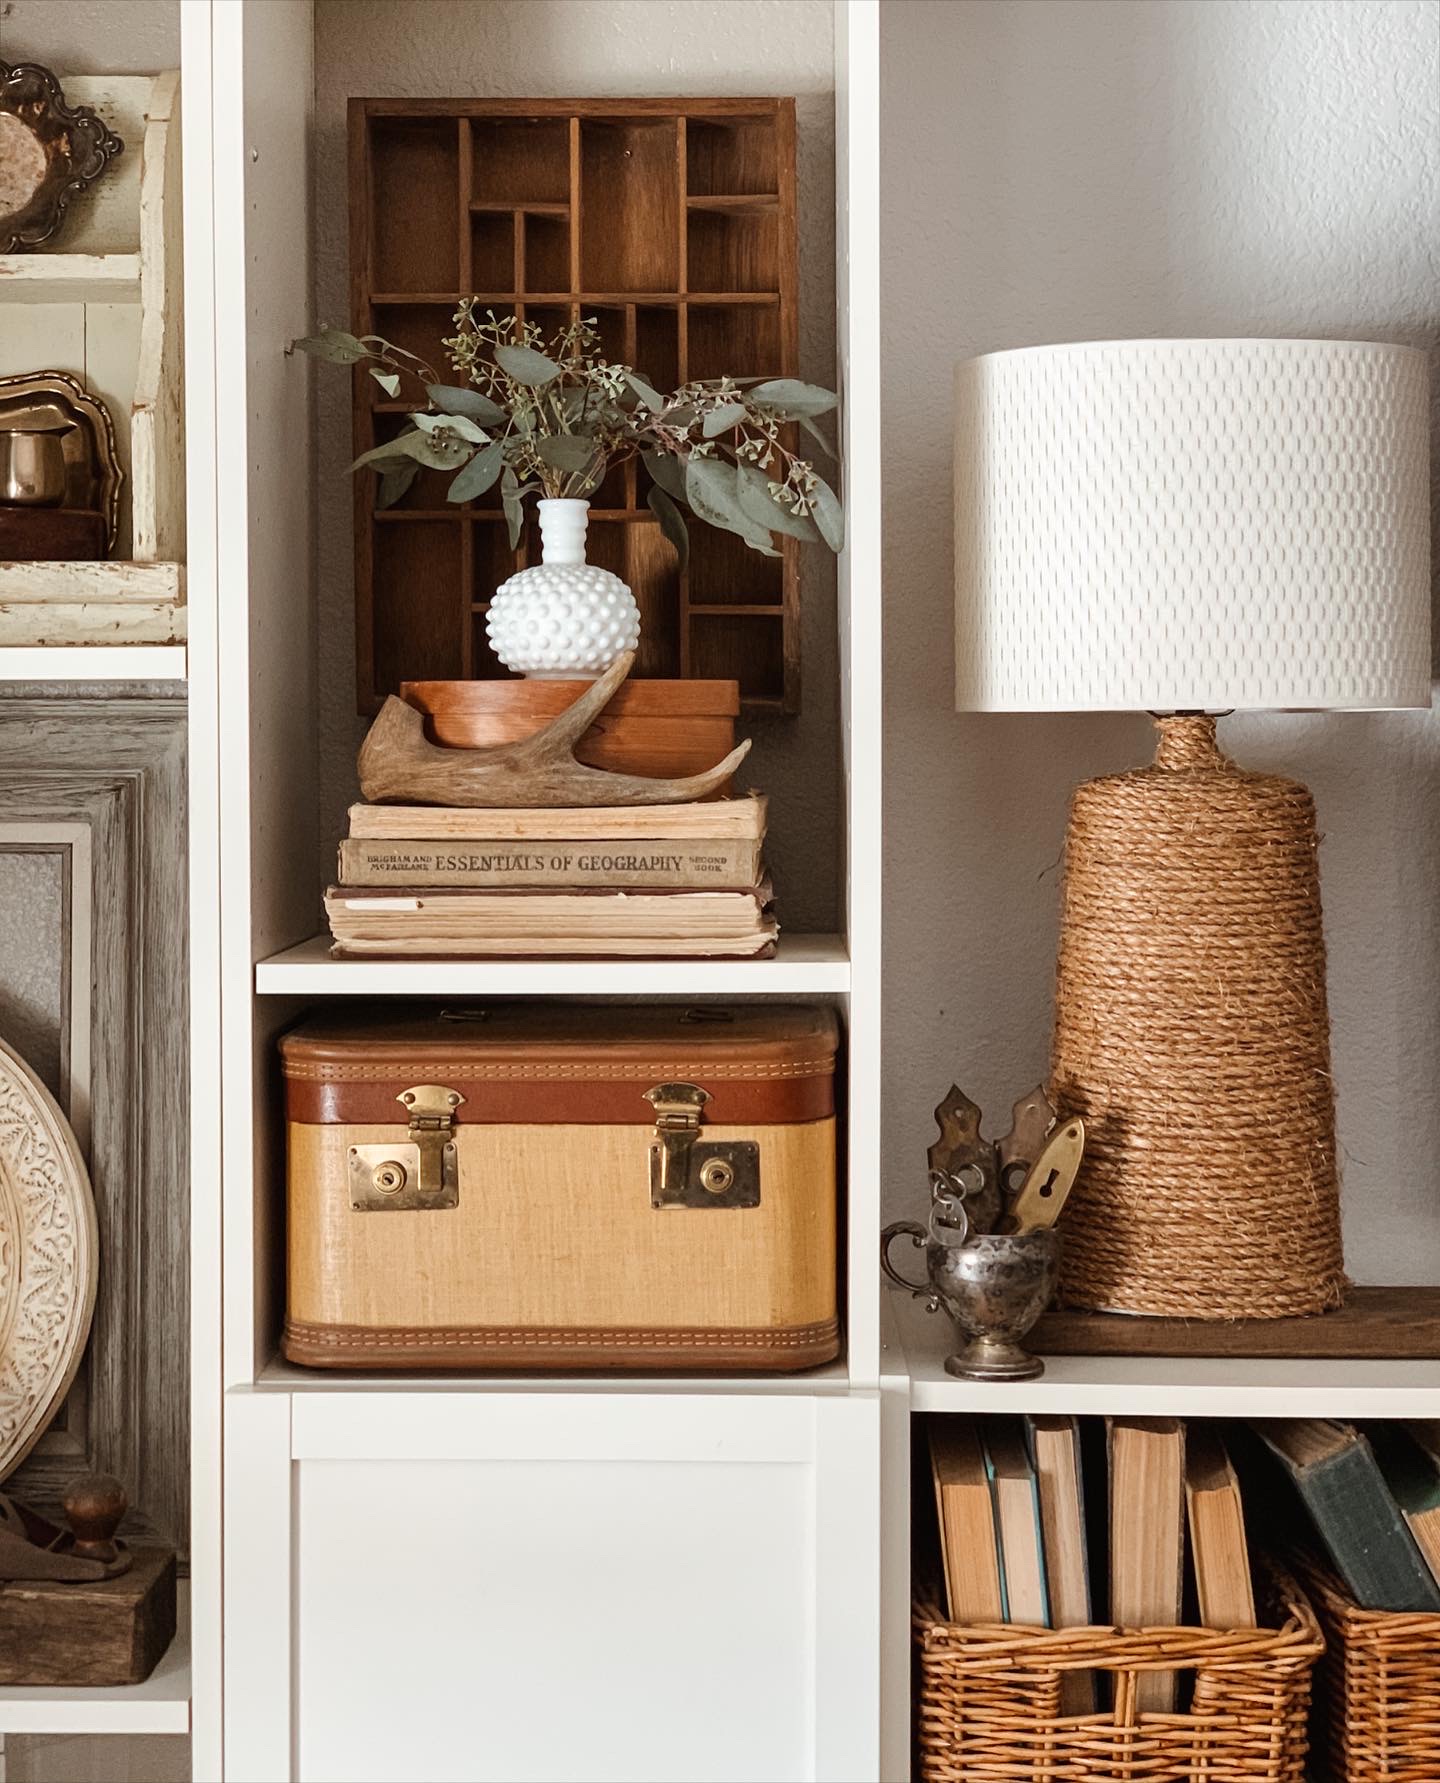
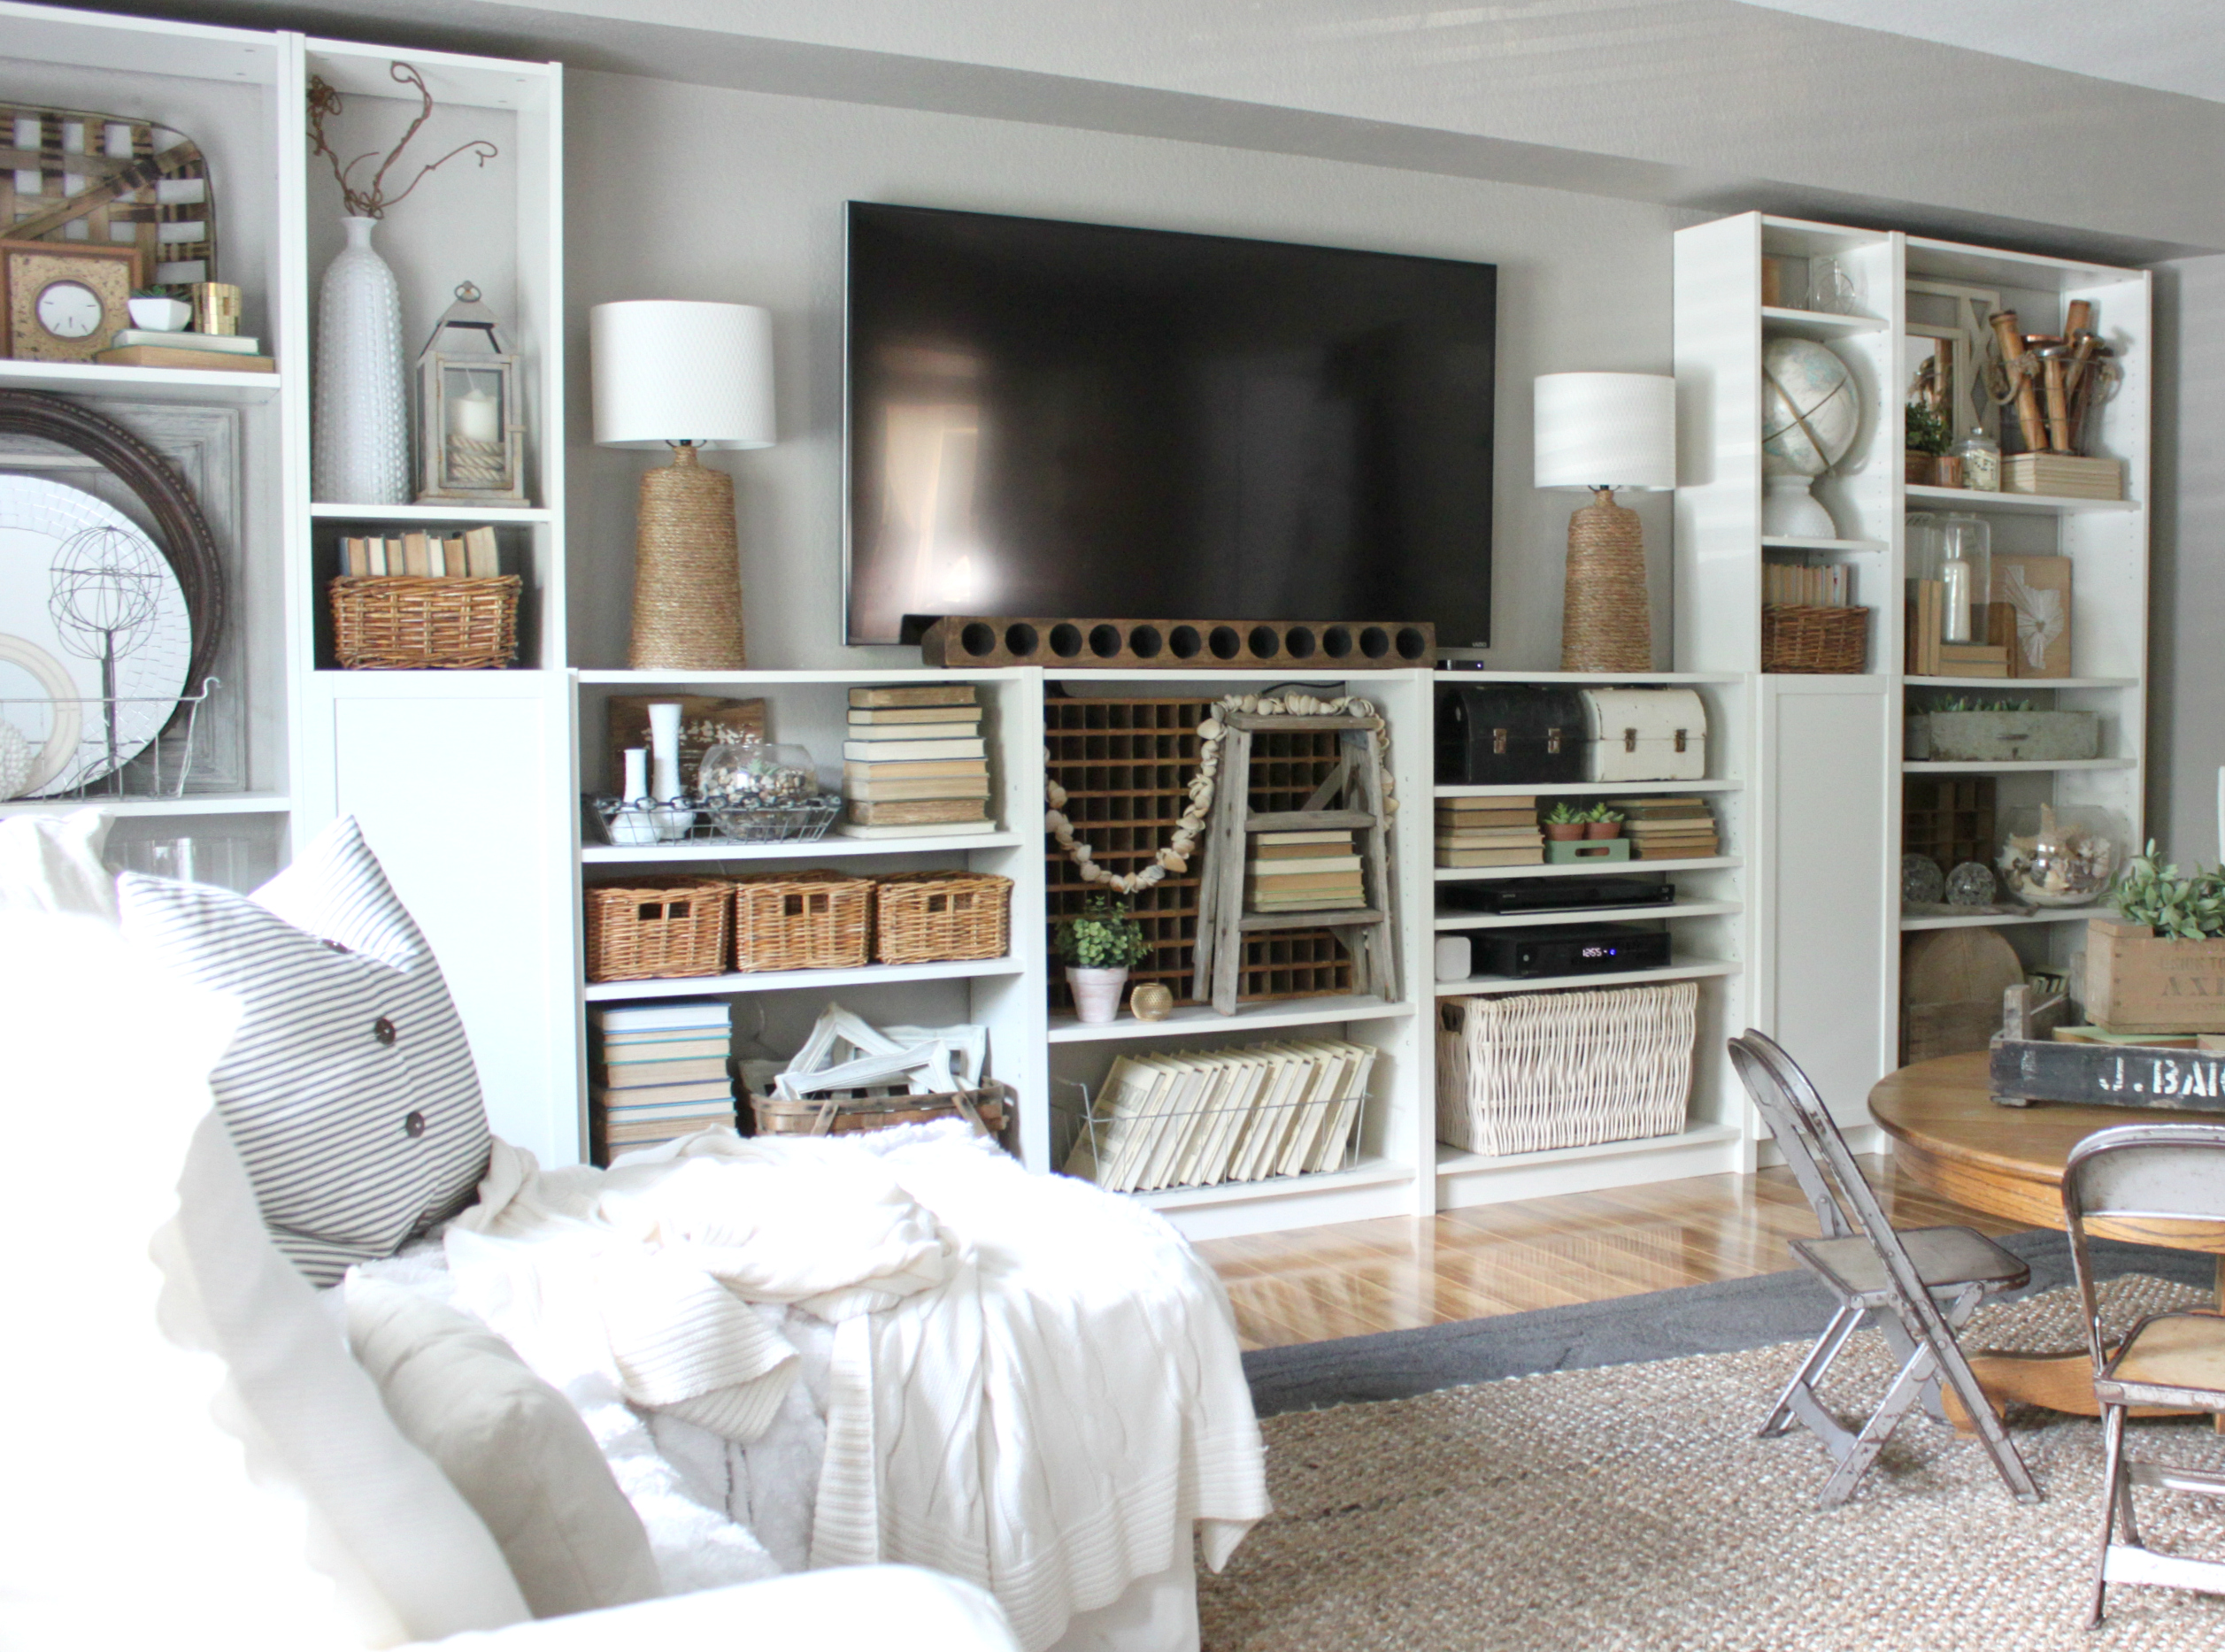
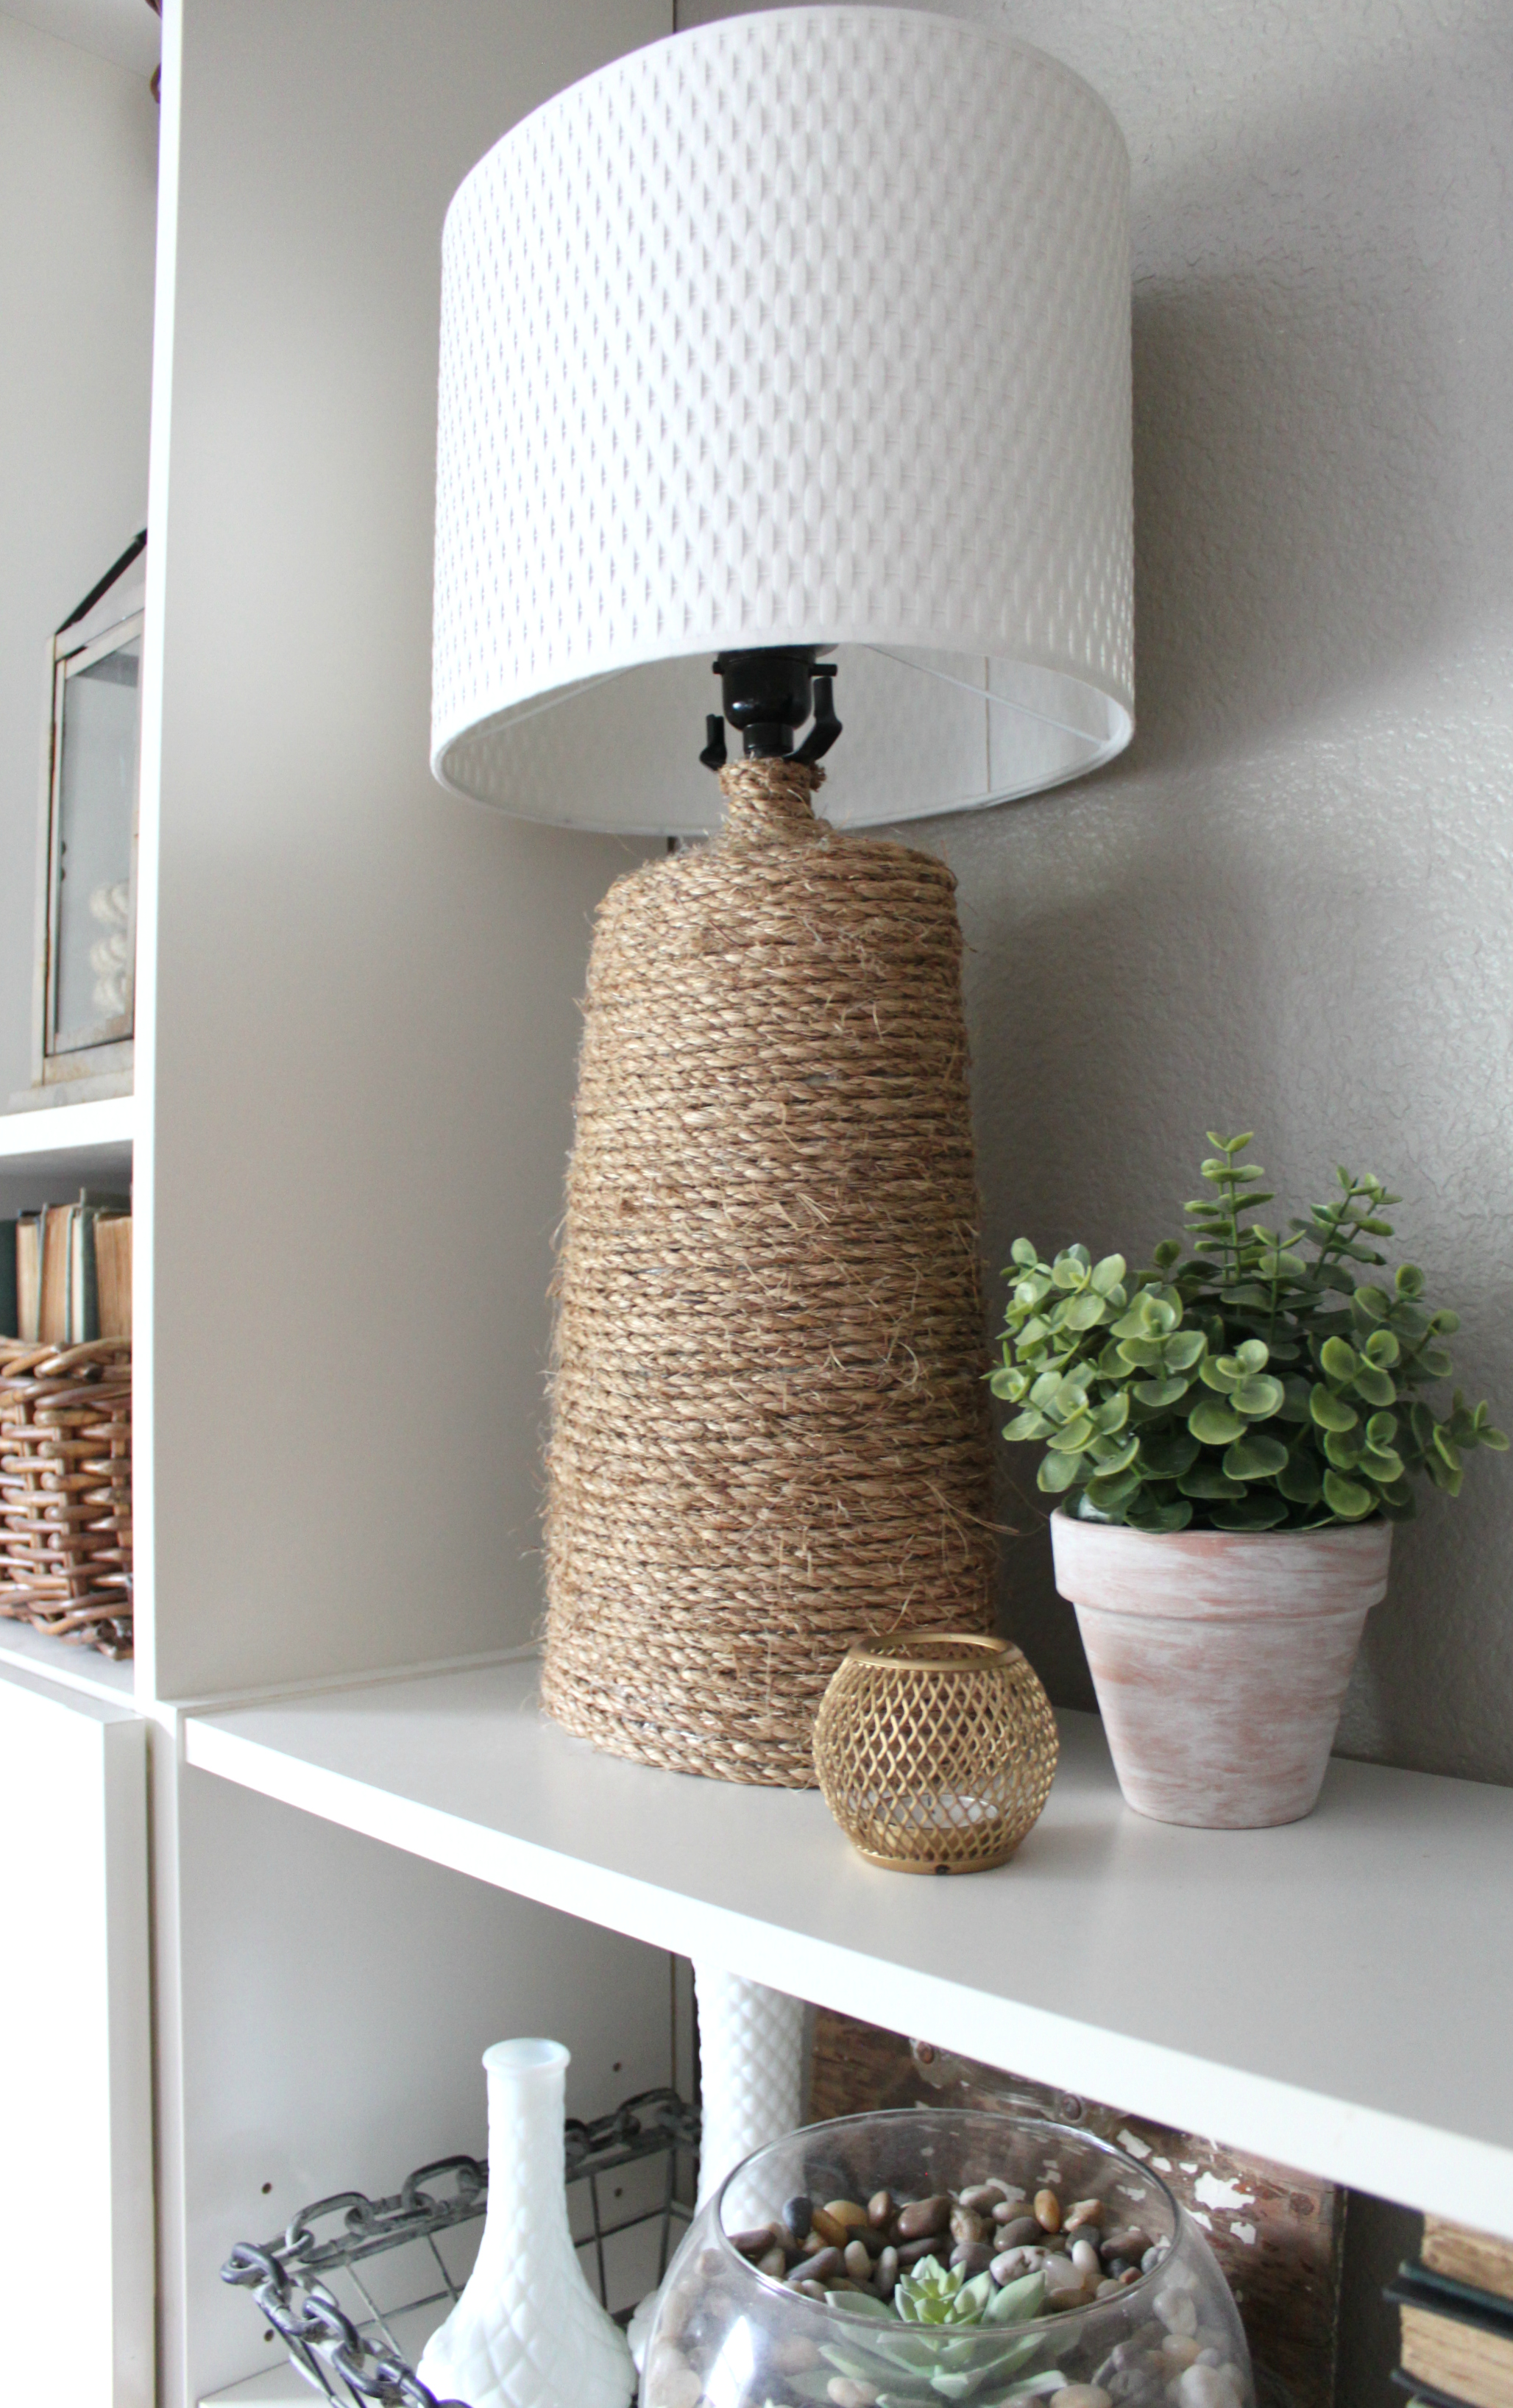
After installing the white IKEA Billy bookcases along the focal wall in our family room, I started hunting for a pair of lamps to sit on either side of the television. I envisioned neutral lamps with texture, a simple shape, and a rustic feel. All on a thrift store budget.
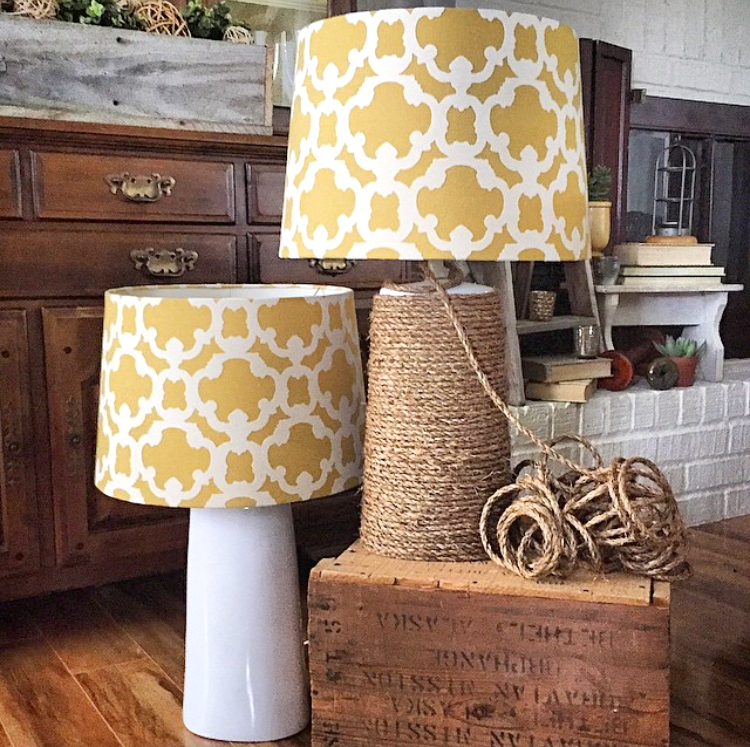
I had an old pair of shiny, white Target lamps that were occupying a spot in the “donate” box destined for the thrift store. I bought them years ago on clearance for less than $9 a piece. They had cheerfully served my home well, moving from room to room, but the shiny white finish no longer blended into my rustic and vintage home décor. On their way to the car, I had an “Aha!” moment (seriously, one of the best feelings ever!). Instead of driving to the thrift store I was off to Home Depot in search of the perfect rope.
This do-it-yourself project is one of the easiest and most inexpensive projects I’ve ever created. All you need is a lamp base, rope, and a glue gun!
A Thrifty Makeover: Before and During
Gather Your Supplies
- Lamp base. I used a pair of Target lamp bases I’ve had for years. You might consider using a base you already have or shop your local thrift store or garage sales. Focus on the shape of the base not the color or texture.
- Glue gun.
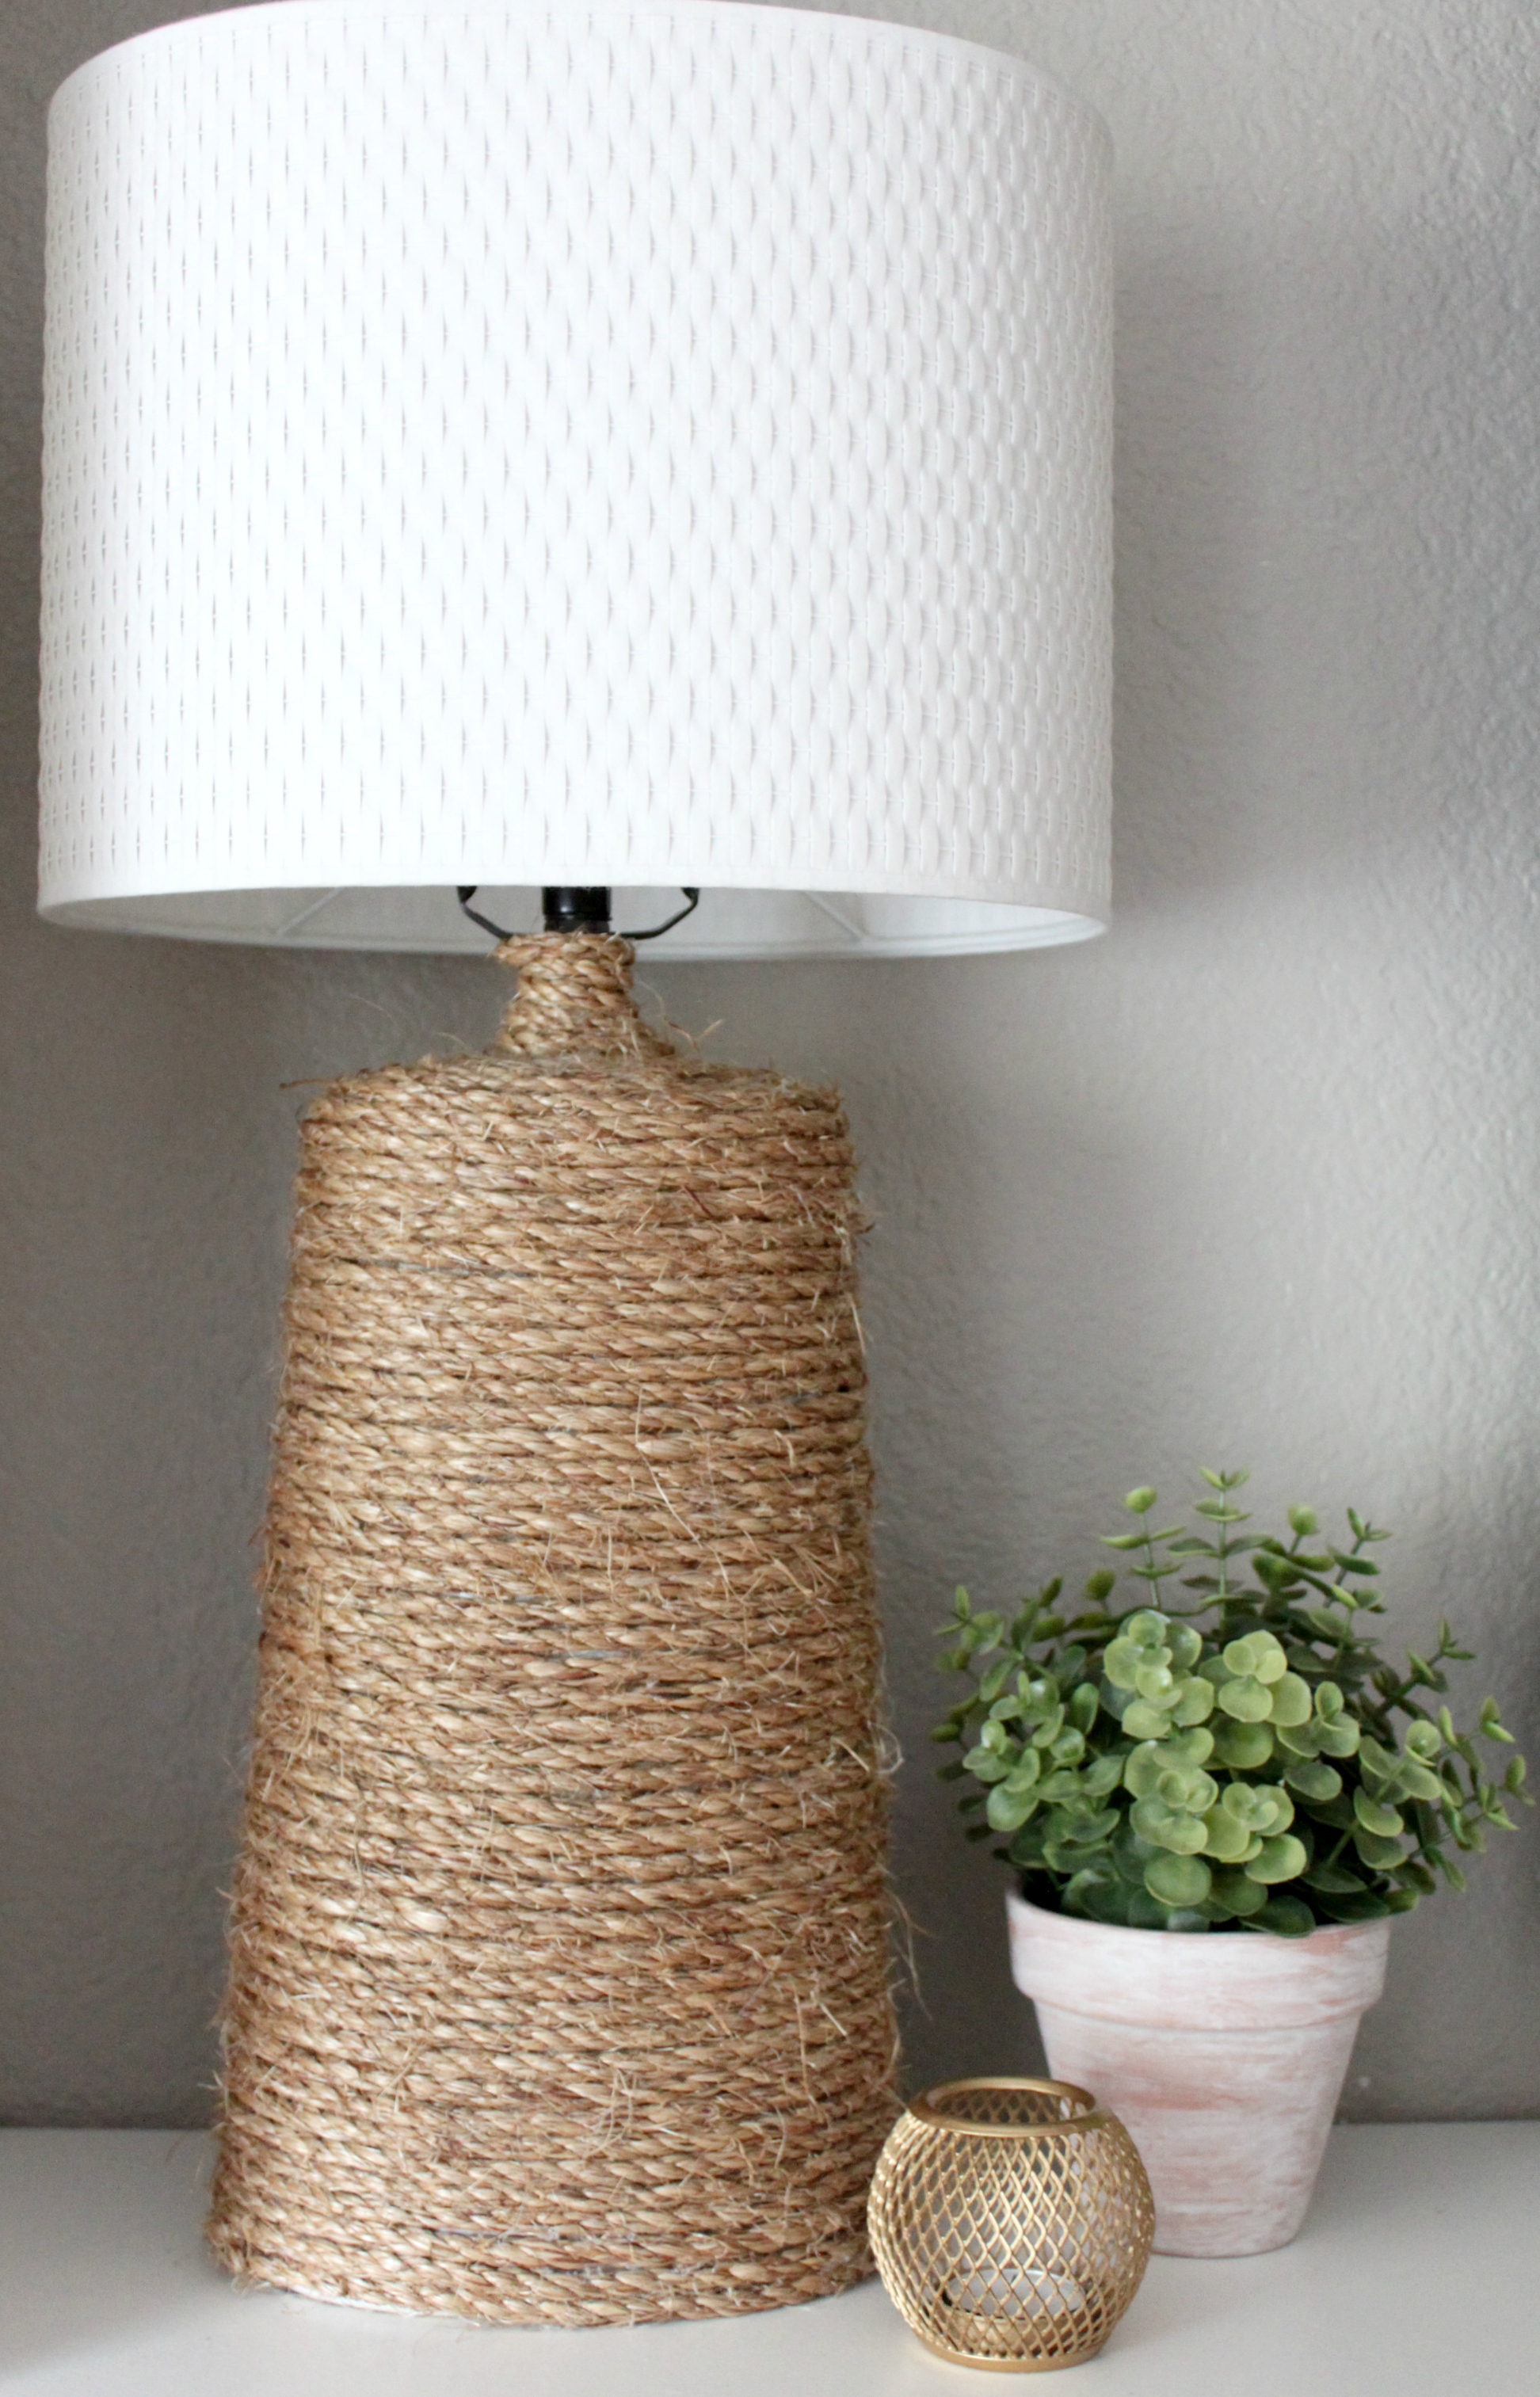
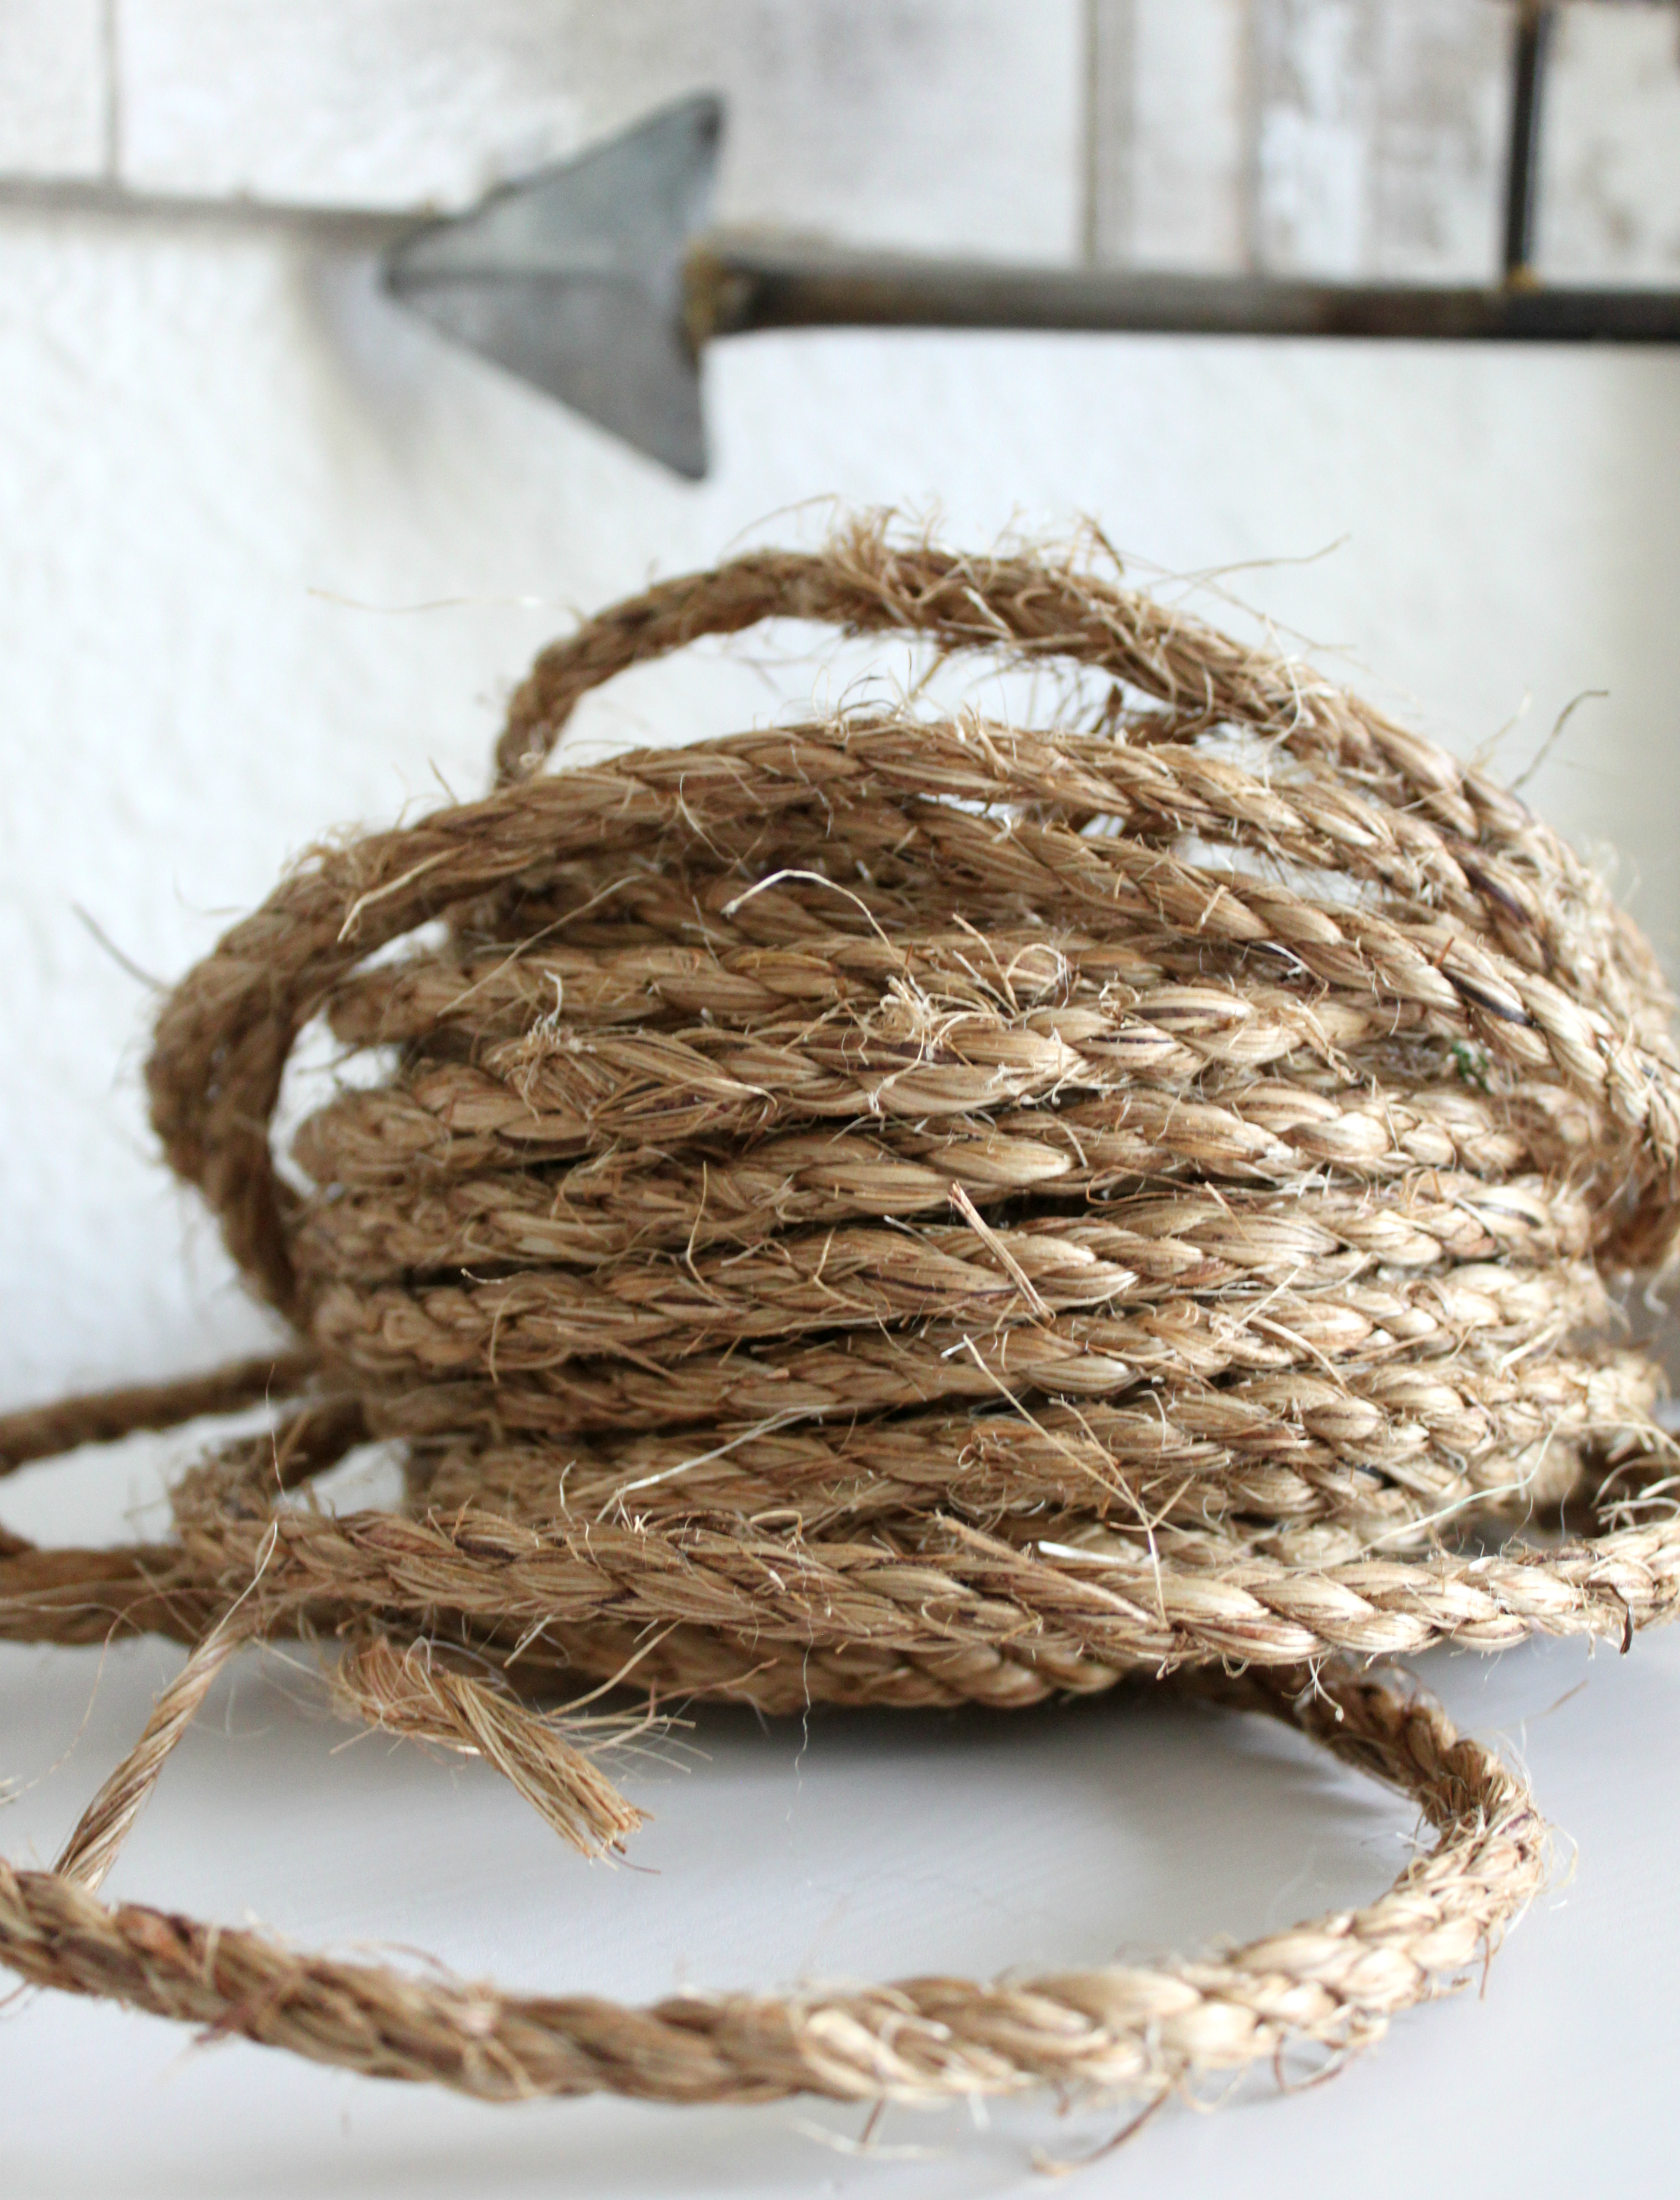
- Rope. I purchased mine at Home Depot. There are lots of different options to pick from. I chose a natural sisal rope (similar to this one) simply because I loved the distressed, rustic, and unpolished look it has.
How to Wrap Your Lamp Base with Rope
- I started at the bottom of the lamp and worked my way to the top.
- I placed a dab of glue on the end of the rope. Then arranged it on the back of the lamp with a little pressure.
- I wrapped the whole lamp without cutting the rope.
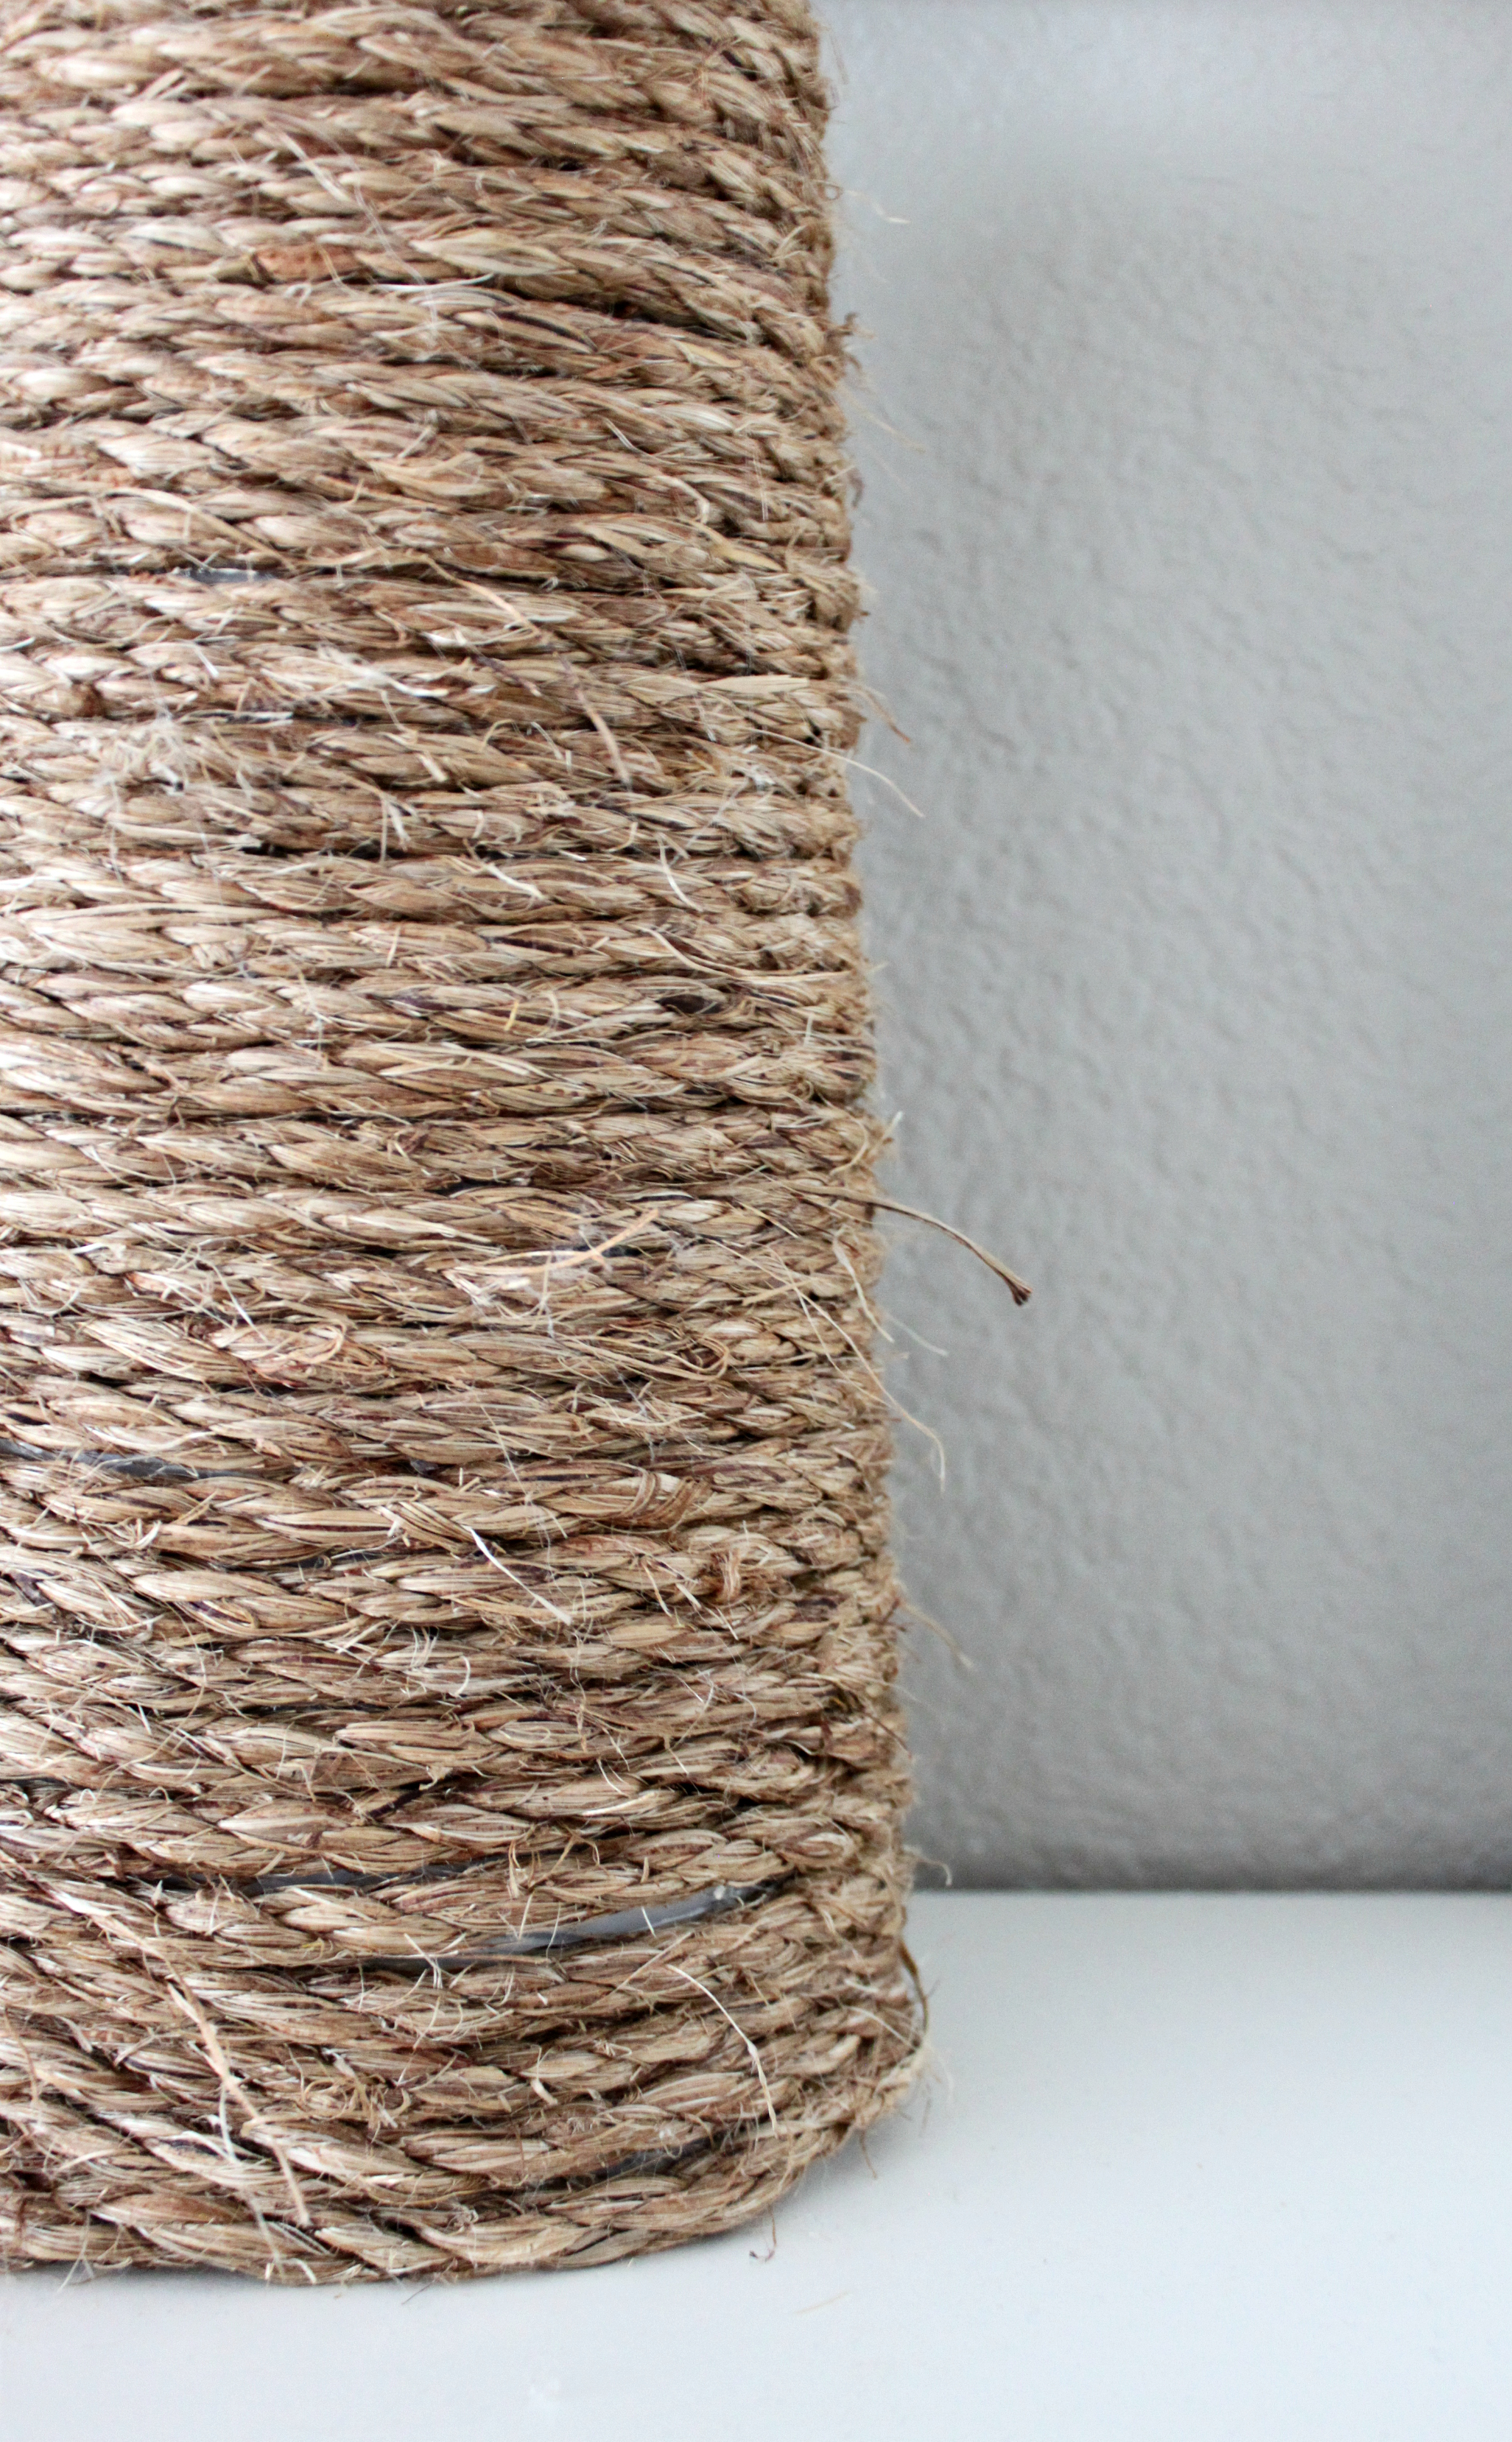
- As I wrapped the rope around the lamp base, I kept the rope tight and each row as close together as possible. If you look closely, you can see glimpses of the white peaking through from underneath the rope. I prefer this look. If you don’t want the lamp base color to peak through, just ensure your rows are nice and tight.
- Each time I went around the lamp, I added a dab of glue on each side, front and back.
- It took me about 40 minutes to complete one lamp.
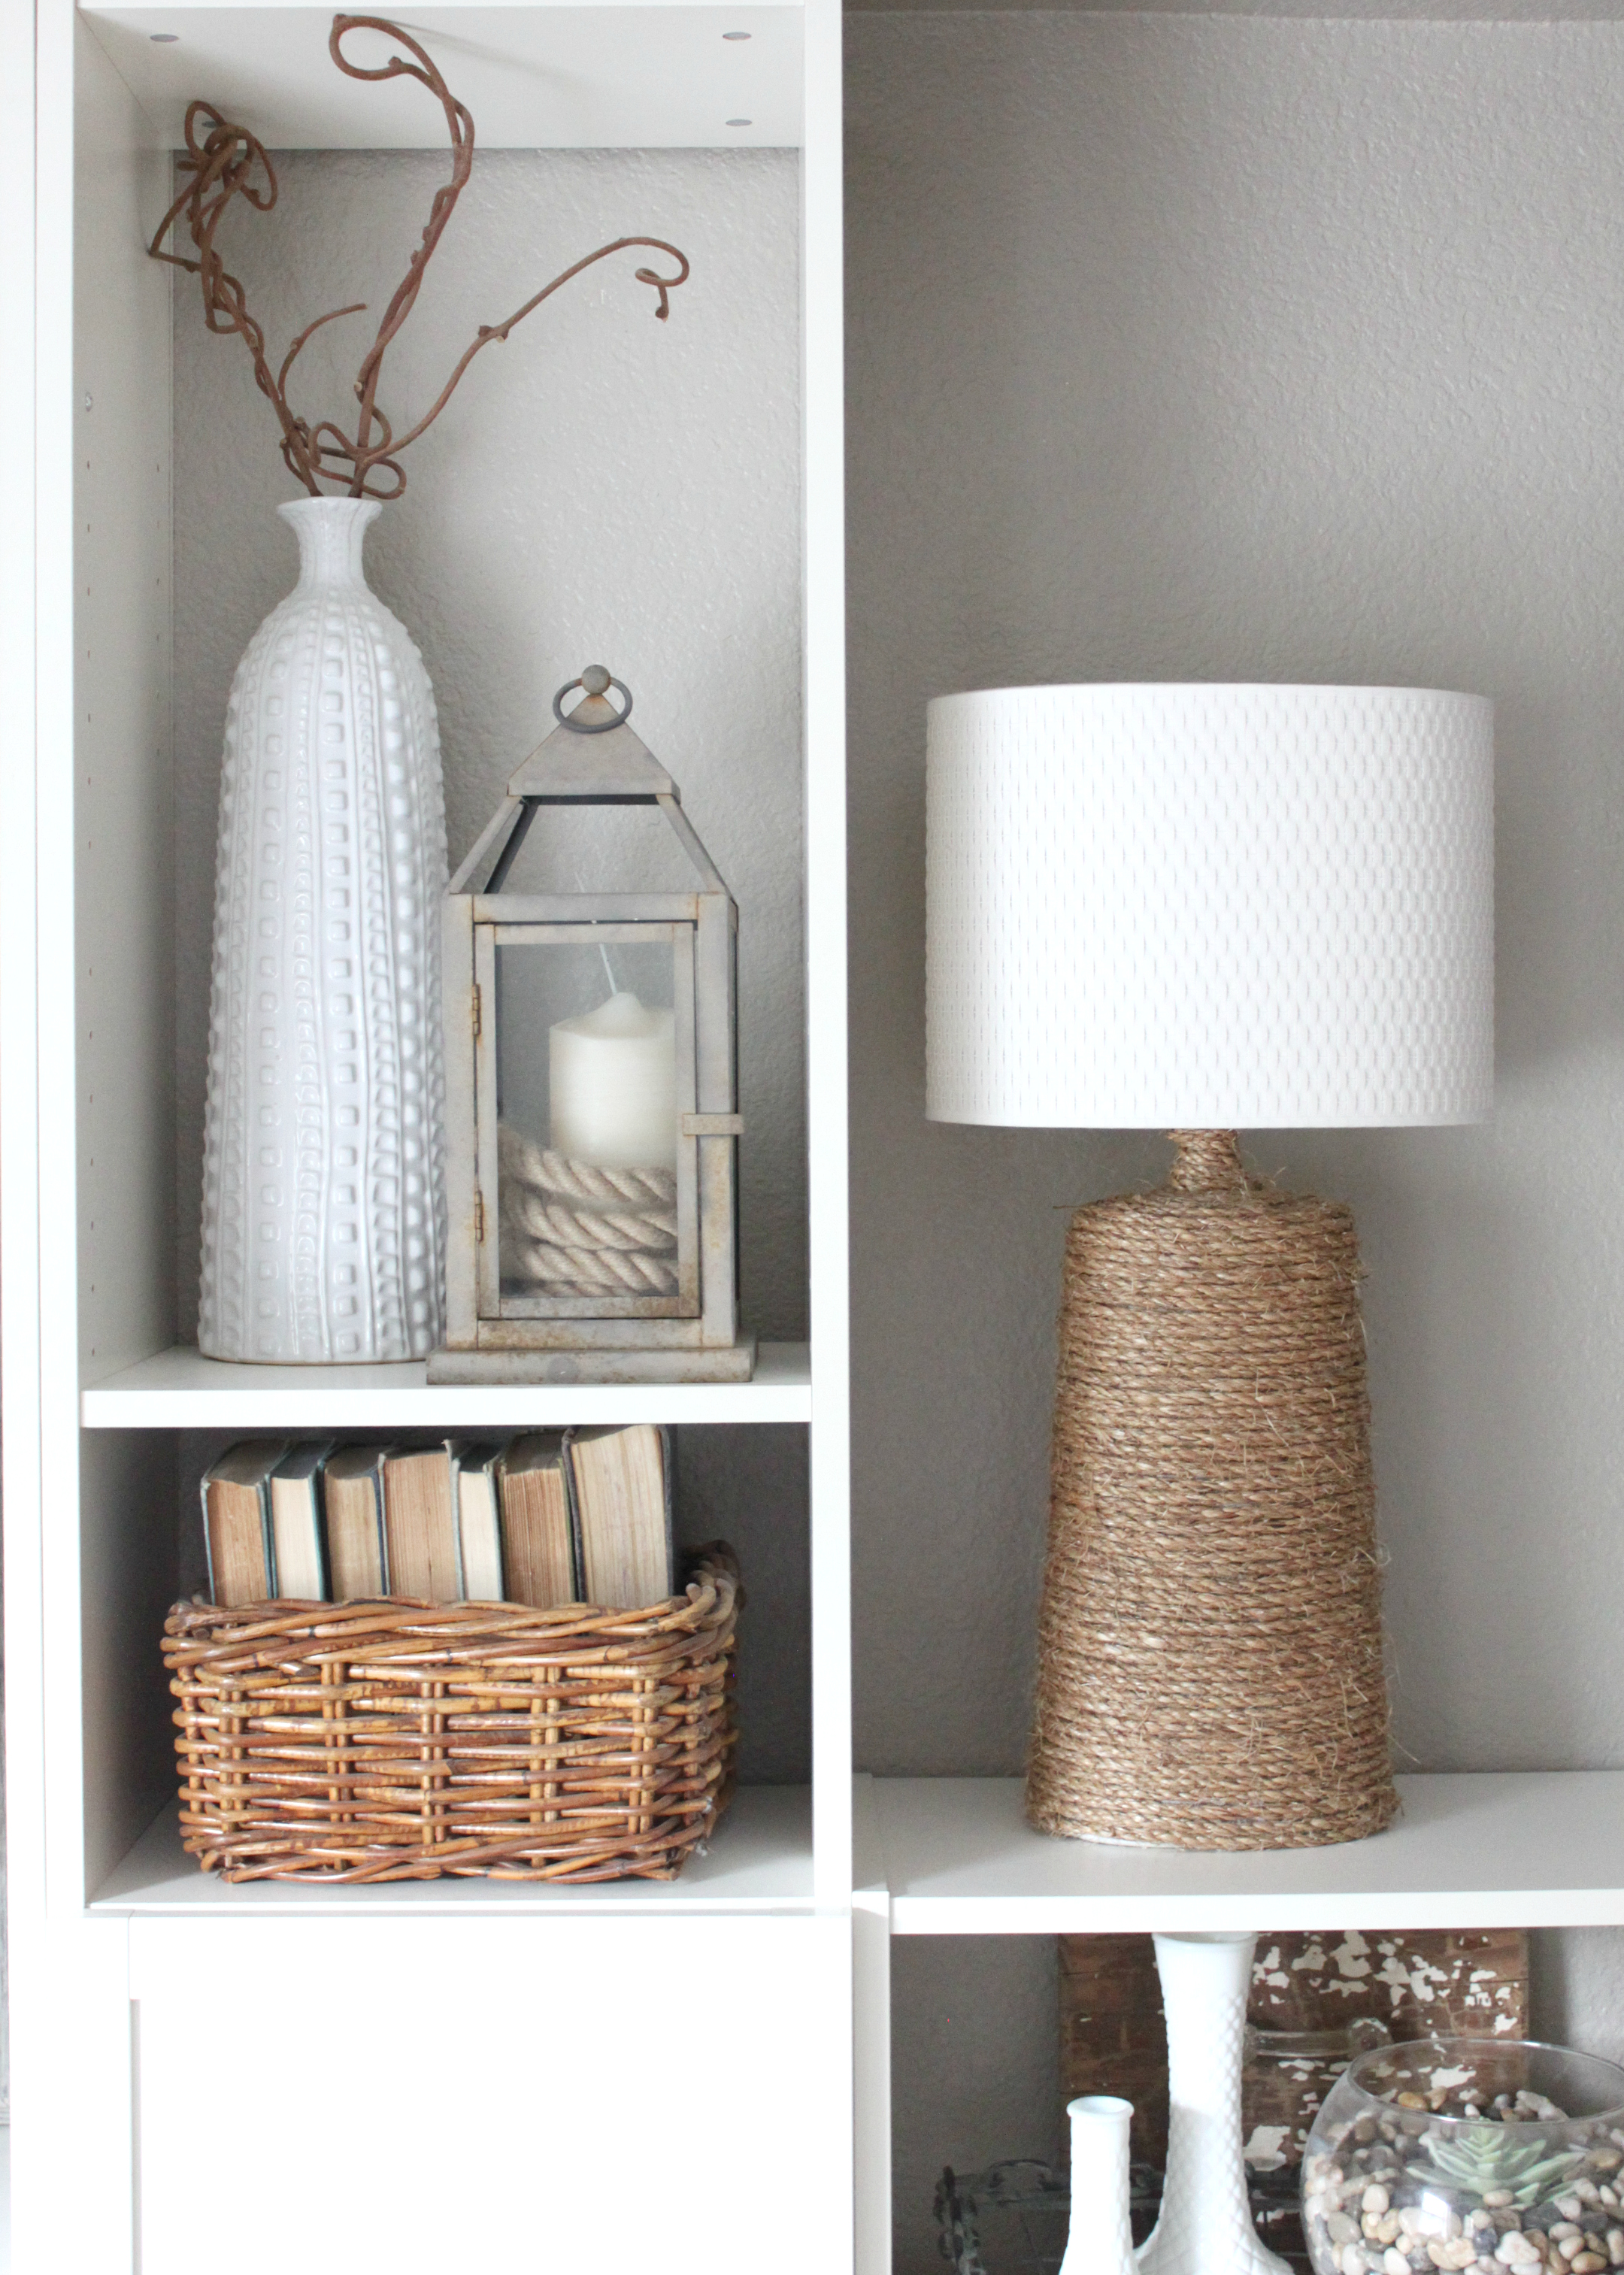
I hope this tutorial sparks your creativity and inspires you to wrap a lamp base, a lampshade, or even a glass bottle with rope.
Happy creating, y’all!


Love the lamps!
Thank you! Wrapping them with rope was such a fun and easy project.
Happy day to you!
xo, Shannon
Love these! Where did you find the lampshades?
Thank you! The lampshades are from IKEA.